The Ultimate Bill Binder: All Of Your Bills In One Place
December 19, 2018
Let’s get down to this money business.
1. First you need your supplies.
The Bill Binder will last for years, so pick a color you can live with and don’t skimp on the quality. Here’s what I suggest:
- Binder (1.5 inches, The Avery Clear View Binder is durable.)
- Pocket tabs plastic sleeves
- Clear sheet protectors (Approximately 10, Get the thicker weight for durability.)
2. Gather up one copy of each of your bills. Every. Single. One.
This includes any e-bills or reoccurring in-person bills (i.e. your hair stylist).
3. Stack the bills in the order they are due each month.
You want the bills ordered with the beginning of the month on the top and the end of the month on the bottom, from the 1st to the 31st. If you have e-bills, great…write each one on their own piece of paper (or post-it) and add them to the stack. Remember, the goal here is to get all of your bills in order in one place.
4. Type each bill and due date into the ledger.
Or, you can write them into the ledger. Don’t worry about making one. For a limited time, I’ll share my personal one with you. Just enter your email address on the top of the page. (My gift to you for supporting my new blog!)
The details are super important! Do not skip the estimated amount. Do your best to include this. Even if it’s an every now and the bill (i.e. quarterly) it’s still important! You will use the estimated amounts later to calculate an estimated monthly budget. For credit cards, write the minimum payment in the estimated amount. (*See the note below about credit cards.)
5. Add up all the estimated amounts. The total is your estimated monthly budget.
This should also give you clear idea of how much money you have to spend or not spend. Take your monthly checks and add them up. Subtract the sum of all your monthly estimated amounts… that’s what you are working with for bills. For a more complete picture of your expenses, make a secondary list of groceries, beauty, entertainment, etc.
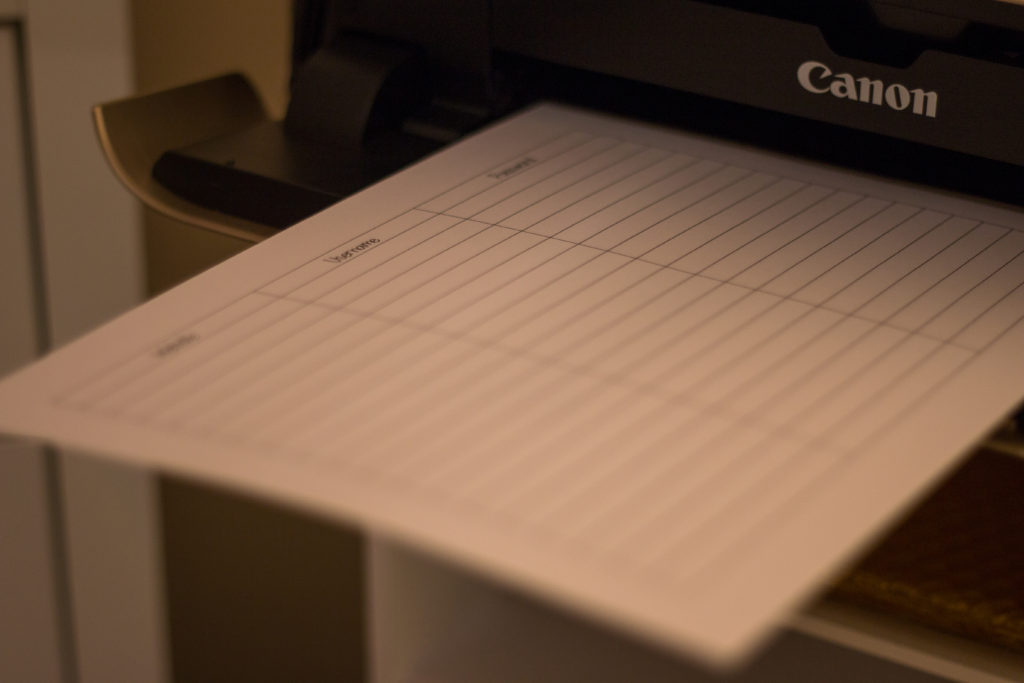
6. Print out two ledgers.
Yep, only two. I know you want to print all 12 months. But just be patient and wait two months because there will be errors and adjustments. When you come across them, make yourself note. (Personally, I use a different color ink directly on my ledger and post-it notes.) Then, in two months you will sit down add/delete/adjust and then you will be ready to print the ledgers for the rest of the year.
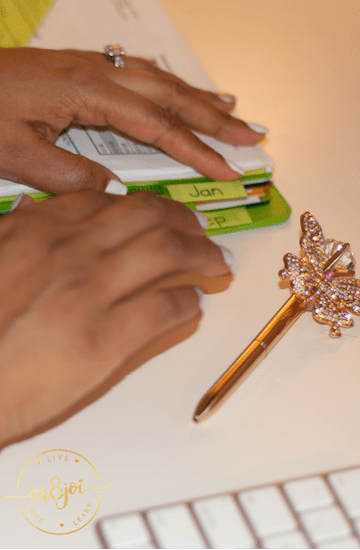
7. Pocket Folder Time!
Print out the monthly tabs and slide them in. So you never have to do this again (unless you change the aesthetic). Cut and paste tabs to the tab the binder comes with. This will make them a little thicker and less prone to slip out. If you want to secure them for life. Do one more thing. . . Cover them with packaging tape (#Ol’SchoolTeacherTrick). Now your tabs are set for life!
8. Decide how you want organize your binder.
Do you want to organize by calendar year, starting at January, ending with December? Or, do you want the current month on top, followed for the remaining months? Do what feels most logical and comfortable to you. Then place the printed ledgers in the front pocket of the month.

9. Create a master password worksheet.
Don’t worry about making one; I’ll share mine with you. Just enter your email address on the top of the page. Print a few copies because you have way more usernames and passwords than you think!
Write out all your usernames and passwords or type them in in alphabetical order if you are so inclined. Place the passwords in a plastic sleeve in the back of your binder. This too is a step that is done forever for the most part. You will only need to update as necessary.
10. Dedicate space + time to use your new bill binder.
After all the hard work of setting up your bill binder, the last thing you want to do is shove it on a shelf and forget to pay a bill on time. That will totally defeat the purpose! Take a moment and think about where you need to keep the bill binder so that you can easily reference your due dates and passwords. If you have a desk and sit at it often, keep your binder there. If you are on the go, maybe it stays in your work bag. Are you always sitting in a certain spot in the family room? Maybe you need to find a home for the bill binder near there. The point is to make it accessible.
If you are horrible at paying bills on time and trying to give your credit score a boost, then check that bad boy every day until you get your money life in order. You have all the bills listed by due date now; everything is in order. No need to miss a due date.
Once your timing is in order, you can chunk your bills. That’s what I do. I sit down twice a month (usually on a payday or that weekend) and pay all the bills for half the month. Then next payday, the second half of the month.
The main idea here is to allot the proper time and space to pay all your bills on time from the ease of one binder.
*Now a word about that credit card debt…
If you are on a #missioneliminatecreditcarddebt, you should pay more than your minimum payment. Pay as much as you can monthly to get rid of that monster! Chunk as much as you can on that the credit card. If you can, at least double the minimum payment. Once you pay off your credit card debt. Try to only charge what you can pay off in full within a 3 month period (a 6 month period only if it was an emergency charge). Otherwise don’t charge it. Cash is king! Paying off credit card debt fully in a short time span will improve your credit score. If you have the money, stop playing. Stop charging and pay off the credit cards! Personally, I try to use credit cards for vacations and big ticket items. For example, I will charge our vacation. But pay off the credit card debt with a month or two tops.
My credit card mindset is to think of my plastic like the cash in my wallet. If I don’t have it, then I can’t get it. Period.
I also use a credit card to buy most of the Christmas gifts. I do a lot of online shopping so it’s safer than my debit card. It’s also nice to have all the bills in one spot. But, I’m also fully aware of the interest. So I’m charging on the card and paying the balance off in full before the bill even comes. This also helps to boost my credit score.
Now that you know your real budget from setting up your bill binder. You know what you can afford. And this may hurt a little…if you can’t then don’t charge it. A lot of credit cards will have a bonuses and maybe even cash back during the holiday season or for opening a line of credit, don’t fall for it! Don’t let them take advantage of you, unless you don’t have a credit card and you need one! Steer clear of department store credit cards. The interest rates they charge are just flat out ridiculous. That little outfit you bought will be old and rusty by the time you pay that card off with just the minimum payment.
Okay, stepping off my ‘don’t get jacked up with credit card debt’ pedestal!
Are you sandwiched like me? Taking care of your parents’ financial affairs too?
Then repeat steps 1-10 and create a Bill Binder for them too. If you are the one to take over your parents’ financial affairs one day, then organize their bills with them. You need to know what’s what.
This is always a sensitive matter. You will have to judge how to breach the topic with your family, your way. Maybe just ask them to create a list of legible passwords (for some day) and show you where all the bills are until you take over.
The one thing I said that helped to sway my super independent, not-feeling-it, stay-out-of-my-business Dad was:
If something happens to you, I can only afford to help you financially for 2-3 months at best. I will already be sad and stressed out if something happens to you. Can we at least figure out a way that I can help you NOW, while you are in your right mind? I want to do things the way you want me to do them.
Finally these words got the ball rolling. A month later, my Dad broke his hip. Hospital. Then rehab. Then the rotating door of caregivers. Then the bottom fell out. We almost missed the window. Thank God I already had the pieces I needed to create my parents’ bill binder. I did not miss one bill in the midst of the chaos (not even to this day).
Whether you are getting your financial affairs in order, or your parents, the Bill Binder is an excellent way to organize all of your bills one time, all in one place.
Let me know if you found this post to be helpful. Are you inspired to go take control of your money and make a bill binder?

